Like with every musical instrument, pianos require a lot of maintenance; and more so when they’re cheap (bought secondhand, that is), or have become old.
Table of Contents
- How to Replace a Broken Key on a Yamaha Keyboard
- Where Can I Buy Replacement Keys for a Yamaha Keyboard
- What Are the Best YouTube Videos to Learn How to Fix Dead Keys on a Yamaha Keyboard?
- Conclusion
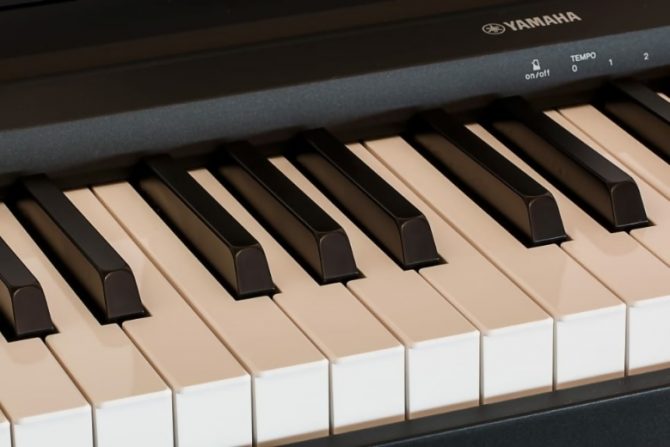
And one of the most common issues with musical keyboards is damaged keys. As a result, the piano keys may fail to produce any audible sound or harmonious melody at all. This is the kind of situation that calls for immediate attention and repair.
If you are facing a similar issue with your Yamaha keyboard, here’s how you can fix this problem at the earliest.
How to Replace a Broken Key on a Yamaha Keyboard
Yamaha produces some of the most popular keyboards out there. Despite being durable and reliable, even the good quality ones can break down at some point in time. In an emergency situation like this, you should be well-equipped with ways to repair your keyboard, or if need be, replace it with a new one.
Here is a proven method that you can follow to replace the keys on a Yamaha keyboard.
Orient the Keyboard
First of all, you will need to lay down the keyboard in such a way that the keys face the ground. Next, detach the battery casing from the back plate. Locate the batteries and remove them from the battery holder.
Remove the Screws
Find the six screws at the top of the back plate and remove them using a screwdriver. With the help of the same screwdriver, loosen the screws from the mid of the back plate. You will also need to remove the screws from the bottom and the sides of the back plate.
Turn over the Keyboard
Now, turn over the keyboard. Be careful while performing this step because, at this point, the face plate will no longer be attached to the body of the keyboard. If you are not cautious, you may drop the keyboard from your hands and risk breaking it.
Lift the Face Plate
Place your hands on both sides of the keyboard and lift the face plate gently from its front and back. Again, be careful while removing the face plate as there are wires attached under the face plate that are crucial to the proper functioning of the keyboard.
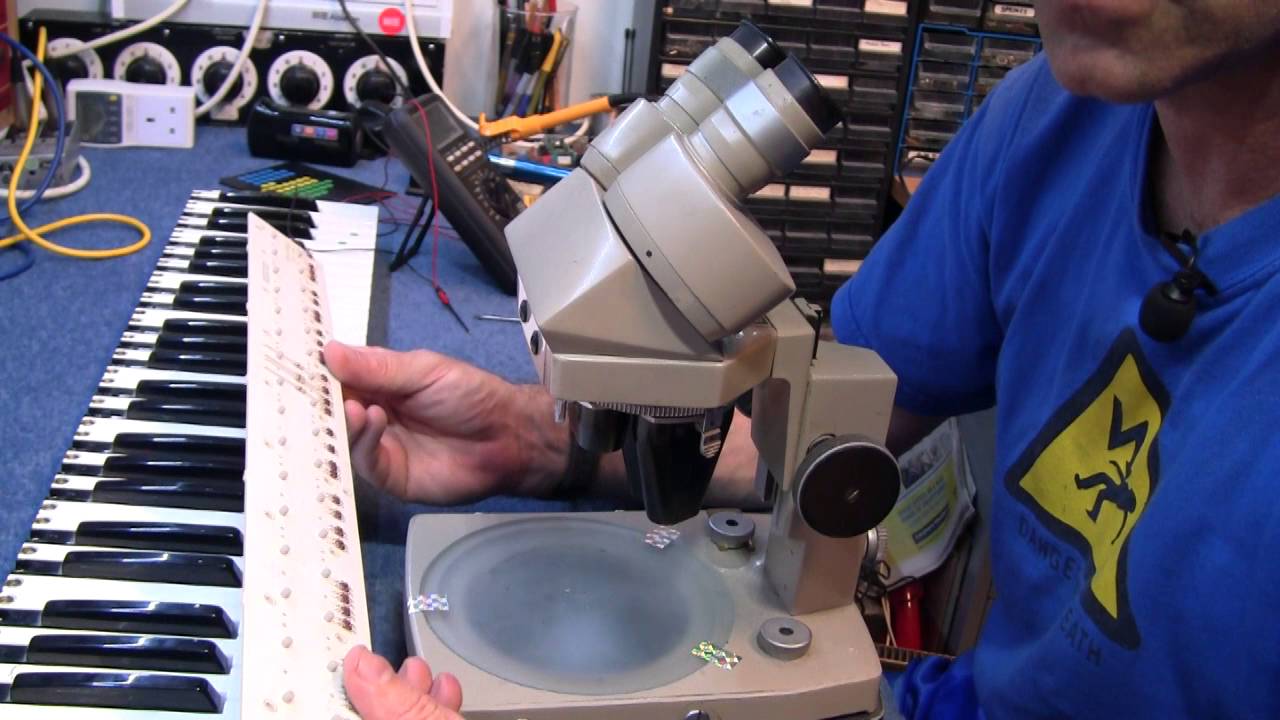
Remove the Screws that Hold the Blocks of Keys Together
The next step entails the removal of the screws that hold the keys together. Decide which block of the key needs to be replaced. This is important because some blocks will have four screws that will need to be removed instead of three.
Remove the Block of Keys
Gently remove the block of keys by pulling the top of the block in the upwards direction. As a result, the block of keys will come to a lower position.
Replace the Keys
In order to detach the keys, you will need to press the tab on the backside of the key blocks. Remove the black keys that need to be replaced. Do the same with the white key set(s). Once you have removed the broken white and black key set(s), place the new set in their place.
Re-Assembly – Follow the Steps in Reverse Order
You’re not done yet. Now, put everything back in the reverse order, starting with the keys. Once they’re in place, screw them in and make sure they’re secure. Once that’s done, attach the face plate and then the back plate of your Yamaha keyboard.
Remember to Use all the Screws
Make sure that you screw in all the screws that you removed earlier. Screw everything back in its original way so that you can play the piano.
Where Can I Buy Replacement Keys for a Yamaha Keyboard
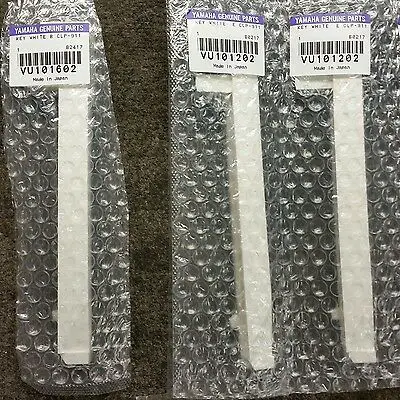
Thanks to the Internet, there are plenty of online sources from where you can easily order replacement keys for any model of your Yamaha keyboard.
You can directly reach out to Yamaha by calling on their helpline number or sending in your query to their email address. In order to send an email request to a customer support representative, you will need to create an account – “My Account.”
You can also engage in a live chat with one of the representatives of Yamaha and share your issue that way. The live chat service is available 24/7, so feel free to contact them for your queries.
Another great online source to order your Yamaha key replacements is Syntaur. This online keyboard parts and accessories store not only sells parts of Yamaha keyboards but also buys old/broken keyboard components for recycling purposes. Syntaur is a particularly good source for Yamaha clp 545 keyboard repair, and for other older models.
In order to sell them your damaged keyboard parts, email them at sales@syntaur.com or call them at 830-627-1530. In addition to Yamaha keyboard parts, you can buy other electronic components such as power cables, USB cables, patch cables, MIDI cables, SCSI cables, and specialty cables.
What Are the Best YouTube Videos to Learn How to Fix Dead Keys on a Yamaha Keyboard?
The following are some DIY tutorials that can help you repair and replace the broken/damaged keys on a Yamaha keyboard:
Conclusion
Nothing can be more frustrating than dead keys; they ruin the whole purpose of playing the piano. Although it is always a good idea to take your damaged Yamaha keyboard to the nearest music repair shop, it is not always possible to do so. At times, poor weather conditions or a lack of conveyance can hinder your visit to a repair store. In times like these, the next best thing is to rely on your own DIY skills to repair a broken keyboard. You can follow this guide to fix the dead keys in your Yamaha keyboard. For more help, you can turn to the YouTube tutorials shared in here!